
What is Vermicompost?
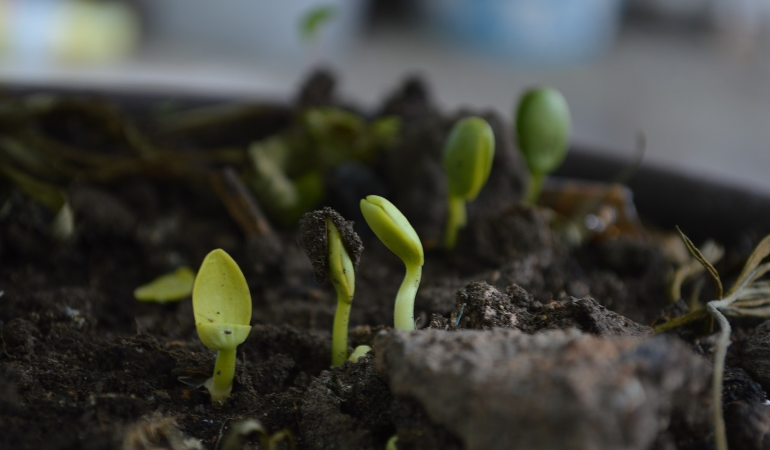
When worms ingest biodegradable materials, they give off fertilizer known as vermicast. The vermicast is one of the richest kind of organic fertilizer. It is one of the highest quality fertilizer. Most experienced farmer’s will attest to the fact that, any and all plants or seeds that they sow survive as long as there’s worm castings or vermicompost (vermicast). Today’s #VaMudhumeni mantra: “Use vermicompost, to grow anything!”
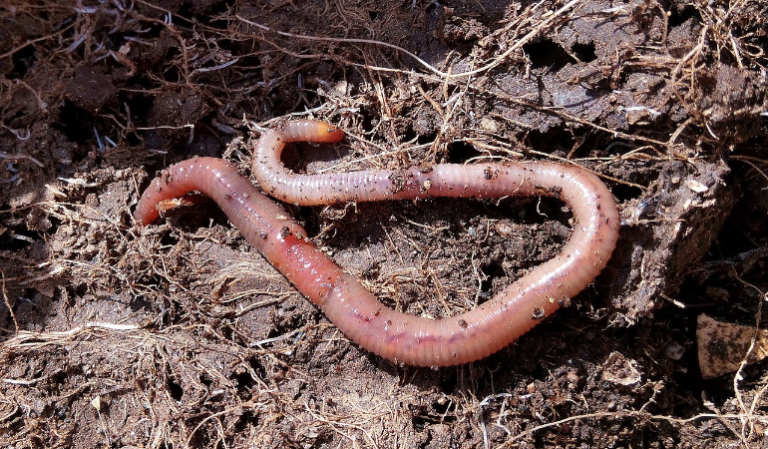
Vermicomposting worms come in many varieties. They are known by many common names, including red worms, red wigglers, tiger worms, brandling worms, and manure worms
This is pure worm castings or vermicompost (vermicast). It is black and odor-free.
Step 1 : Understanding what goes into organic fertilizers
All plants need more than 12 kinds of nutrients in order to grow healthy. Chemical fertilizers only provide 2 or 3 nutrients to plants.
Step 2 : Starting vermi-composting Choosing a location,cool and shaded place, with temperature between 24-30 degrees CelsiusNot floodedNear the source of substrate materialsNear the water source
Step 3: Getting started Collect and place your bio-degradable kitchen waste into the compost bin (barrel composter). Over time this bio-degradable waste will be decomposed by black soldier fly larvae. Which love the warm moist conditions that result when waste is placed in warm most conditions. (Compost bin is recycled trash from old biz office, news papers or newsprints)
Step 4: Place the decomposed trash in worm bin When the decomposed kitchen wastes turn black and cool, we feed them to the worms (inside the worm bin). Worm bin can be Tailor made to suite your demands by carpenters
Step 5: Gather substrates (grass, kakawate, coffee grounds, egg shells, banana trunk) and compost them in the heap. Compost heap is recycled mount and other wood shavings. Once they decompose, we feed them to the worms.
Step 6: Time to harvest worm castings or vermicompost (vermicast). Store unused vermicompost in a recycling bucket . Vermicast is the complete organic fertilizer!
Note: You can also put fish gills and molasses, into a recycled water jug. Once decomposed, you can mix it with water, and then add it to the soil. Collect the “vermi-tea” that comes out of the worm bin into recycled plastic containers, and store unused portion in the jug. You can also mix urine collected from animals with water, and feed it to the soil.
Preparing/designing the vermi-bin:
Material Usedconcrete structureOld tireSackBasin or similar materialsBambooBanana trunks Example of other materials you can use within to your area: Some backyard farmers used discarded refrigerator boxes.
They choose this because it is readily available, and is the cheapest solution. This works great because it is sturdy, and can withstand the constant watering (it doesn’t easily degrade). It also has a drainage hole, through which the “tea”can be collected in plastic containers, for daily use. Cover it loosely with discarded materials like wood and basin, to shield it from noon-time sun and heavy rains. Preparing the substrate
Here is the list of substrate:
Exact formula or proportion of carbon-nitrogen ratio. C-70%, N-30%.Sources of carbon
Hay/rice straw, grass, banana tree parts, degraded fruit and vegetable peelings, sugarcane leaves, bagasse or mud press, coconut and maize, saw dust, paper or carton
Sources of Nitrogen
Leaves of Gliricidia sepium, Leucaena leucocephala; parts of peanuts and other leguminous plants like pigeon pea, and all kinds of animal manure, except that of humans, dogs, cats, to avoid the presence of tth E. Coli bacteria.
Gather all kinds of biodegradable waste in a sack or any container. If you have any, spray these with “Effective
Microorganism” (EM) mixture to hasten its decomposition. In the absence of EM, occasionally wet the biodegradable waste and place these in a shaded area.
After 7-14 days, these semi-decomposed materials can be fed to the worms. This is called “Anaerobic Decomposition”.
Note: Only cooled and semi-decomposed materials may be fed to the worms.
Feeding the worms
Creating Vermicompost/vermin-cast
- Once substrate is decomposed and cooled, it may be fed to the worms.
- For every 50 kgs of substrate, put in 1 kg of worms. This is the starter substrate.
- Maintaining the vermi-bin
- Cover the vermi-bin.
- Maintain moisture level of the substrate (60-70% moisture content, with 5-7 drops when squeezed).
- Turn the substrate if too compacted.
- Protect the worms against chickens, rats, snails, birds, frogs, ants, and humans.
- If your vermicompost bin is being attacked by rats. You will have to make sure the bin is covered well.
Harvesting
- The bin may be harvested once it is at 90% castings.
- Manually skim off the top of the casting heap.
- Place new substrate beside existing casting heap so the worms will move (to the new substrate).
- Storage or usage
- Sieve the castings, and place in sack, if they will be sold.
- Maintain 30% moisture.
- There is no need to sieve castings if it will be used in one’s own farm.
How to prepare vermi-tea
- You can prepare your own liquid fertilizer using these steps:
- Materials needed: drum, casting, and water.
- Mix thoroughly water and casting at 1:4 proportion.
- Soak for 1-3 days.
- Water these to plants early in the morning or late in the afternoon.
- Make sure to keep the mixture in a shaded place so as not to kill the microorganisms.
- Mix the vermi-tea with water at 1 vermi-tea : 10 water, and feed the mixture to the soil.
————————————–
Reference:
https://harringtonsorganic.com/the-benefits-of-vermicompost/